
Overview
It is often ordinary and typical to find in enterprises environment, a suite of applications and tools used internally by the personnel to perform a bunch of tasks and domain specific pieces of work. And although, a similar suite of applications if found in any enterprise ecosystem, may have different purposes and different features, they all still have a very one common requirement, that is authenticating users. And being in an enterprise environment, authorization and access levels management can be fairly added to this common requirement.
In software development and architecture, the word common, has in most cases led to a strong a believe, that something has to be encapsulated and isolated, holding its own responsibilities as a self contained component. And in the case of the authentication as a one common requirement, the concepts of Single Sign On, SSO, and Single Log Out, SLO, has not recently emerged to emphasize the necessity to separate the responsibility of authenticating users from the suite of the used applications and grant it to a one centralized self contained software component.
This blog post's mere purpose is to implement SSO and SLO functionalities by integrating a Central Authentication Service, CAS, with a suite of two Spring Boot and Angular applications. The source code and all the resources used in this blog post, are available on Github, links are specified at the end of this blog post in the resources section.
Prerequisites
The tools listed down below and their versions, are used to build the different components described in this blog post,
- Maven 3.6.2
- Java 1.8
- Node.js 10.16.0 and NPM 6.9.0
- Angular CLI 8.0.2
- Apache Tomcat Server 9.0.22
- PostgreSQL 11.5
- Git
Agenda
CAS server
CAS is an enterprise grade and open source SSO and SLO implementation maintained by Apereo and a large community of contributors. To get started, this section will be mainly focused on the installation, configuration and deployment of the CAS server. And the discussion about SSO and SLO workflows will be held until the artifacts are ready and put together.
About CAS WAR overlay
CAS itself is based on Spring Boot, and it uses a WAR overlay strategy to encourage the customization of certain behaviors and resources instead of dealing with the whole codebase and maintaining it. It helps to easily identify changes, and reproduce the same artifact in a consistent fashion.
The first order of business is to clone the CAS WAR overlay template from its git repository and to select the 5.3 version, as it uses Maven as a project management tool, by switching to its specific remote branch,
git clone https://github.com/apereo/cas-overlay-template.git cas-server
git checkout remotes/origin/5.3
After a successful execution of the previous commands, the cloned CAS template should be similar to the following,
cas-server/
│── LICENSE.txt
│── README.md
│── build.cmd
│── build.sh
│── etc
│   │── cas
│       │── config
│           │── cas.properties
│           │── log4j2.xml
│── maven
│   │── maven-wrapper.jar
│   │── maven-wrapper.properties
│── mvnw
│── mvnw.bat
│── pom.xml
It worths the mention, that the cloned template does not contain any source code. At the build time, Maven will attempts to download the provided binary artifact and any dependency needed, based on the project description in the pom.xml file. Then it will attempt to locate the customized files and the overridden configurations inside the WAR overlay and add them to the final cas.war artifact. These customized files and overridden configurations, in order to be located successfully, must be added under src/main/resources in the case of simple configurations and UI tweaking, and under src/main/java in the case of behavioral changes via third party components or custom java classes.
The next step is to create the resources folder,
cd cas-server
mkdir -p src/main/resources
Then to efficiently detect the required changes and customizations, we perform a simple build and inspect the resultant artifact,
mvn clean package
The resultant artifact under the target folder should be similar to the following,
cas-server/target/cas
│── META-INF
│── WEB-INF
│   │── classes
│   │   │── META-INF/...
│   │   │── apereo.properties
│   │   │── application.properties
│   │   │── application.yml
│   │   │── bootstrap.properties
│   │   │── cas-theme-default.properties
│   │   │── log4j2.xml
│   │   │── messages.properties
│   │   │── org/apereo/cas/...
│   │   │── services
│   │   │   │── Apereo-10000002.json
│   │   │   │── HTTPSandIMAPS-10000001.json
│   │   │── static/...
│   │   │── templates/...
│   │   │── truststore.jks
│   │   │── user-details.properties
│   │   │── webflow/...
│   │── lib/...
│── org/springframework/boot/loader/...
The inspection of the build output, reveals clearly the shape of a typical WAR deployment folder. And for sake of brevity, only some parts of the WAR output which worth the explanation are mentioned above.
The first note to take at this stage is, that the files located directly under cas-server/target/cas/WEB-INF/classes are the configuration files which more likely require customizations, and this is done by creating their peers under the src/main/resources folder in the overlay with the exact same names and the needed customizations. Say for example, that application.properties has some configurations that need to be altered, then we create a file with the same name application.properties under src/main/resources folder in the overlay, we copy the content of the original file in the new one and change its content as desired. When building again we can notice that the new file has overrode the original one and the changes has took place successfully. And with this method, every aspect and behavior in CAS can be controlled by adding, removing and modifying files in the overlay, we just have to pay attention to the customized file names and their locations in the overlay in regard to their peers in the WAR build.
The next note, is about the customization of the CAS UI, with the same approach described previously we can modify the files under the static and templates folders by creating their peers in the overlay.
CAS server setup
After this brief explanation about the CAS WAR overlay, and its approach of configuration, we can jump directly into the important customizations and we will be starting by the pom.xml file to remove the embedded Tomcat server as we are planing to provide our own Servlet container,
<!-- ... -->
<properties>
    <!-- ... -->
    <!-- <app.server>-tomcat</app.server> -->
    <app.server></app.server>
    <!-- ... -->
</properties>
<!-- ... -->
Then, we replace the default log4j configuration by copying the provided log4j2.xml file under cas-server/etc/cas/config into src/main/resources as it is more suitable for logging when deploying to a provided Servlet container,
cp etc/cas/config/log4j2.xml src/main/resources
Next, we create the application.properties file under src/main/resources in which the required configurations and properties will be contained. The entire list of configurations and their descriptions can be found here, and the default configurations can be found in the original application.properties after the first build. The configurations needed at this step are listed down below,
##
# CAS Server Context Configuration
#
spring.http.encoding.charset=UTF-8
spring.http.encoding.enabled=true
spring.http.encoding.force=true

##
# CAS Management/Actuator Configuration
#
endpoints.enabled=false
endpoints.sensitive=true

endpoints.restart.enabled=false
endpoints.shutdown.enabled=false

management.security.enabled=true
management.security.roles=ACTUATOR,ADMIN
management.security.sessions=IF_REQUIRED
management.context-path=/status
management.add-application-context-header=false

management.health.status.order=WARN, DOWN, OUT_OF_SERVICE, UNKNOWN, UP

security.basic.authorize-mode=role
security.basic.path=/cas/status/**

##
# CAS Thymeleaf View Configuration
#
spring.thymeleaf.encoding=UTF-8
spring.thymeleaf.cache=true
spring.thymeleaf.mode=HTML
spring.thymeleaf.template-resolver-order=100

##
# CAS AspectJ Configuration
#
spring.aop.auto=true
spring.aop.proxy-target-class=true

##
# CAS Log4j Configuration
#
server.context-parameters.isLog4jAutoInitializationDisabled=true

##
# CAS Authentication Credentials
#
cas.authn.accept.users=casuser::Mellon

cas.server.name=https://localhost:8443
cas.server.prefix=https://localhost:8443/cas

cas.adminPagesSecurity.ip=127\.0\.0\.1
Most of the configurations listed above, are just defaults and does not need any further discussion. However the most important property upon which we have to stop, is the cas.authn.accept.users. This property defines a default user with the username casuser and the password Mellon, we will be using those credentials in the next step to test the very first login operation.
All we need to do now, is to test the current configuration of the CAS server after building and deploying it to an Apache Tomcat server, to do so, we use Maven again to build the artifact from within the cas-server folder,
mvn clean package
Next, we copy the resultant artifact to Tomcat's webapps folder,
# $CATALINA_HOME is an environment variable
# that points to the installation folder of Tomcat
cp -r tagret/cas/. $CATALINA_HOME/webapps/cas
It is very important to note at this stage, that CAS SSO functionalities will fail if the deployment server, is not properly configured to work with SSL. The connections to the CAS server, and between the CAS server and the CAS services should be only made over HTTPS. The Apache Tomcat server used in this blog post, uses a locally generated keystore named thekeystore with changeit as a password, as mentioned by this snippet which is taken from the server.xml file located under the $CATALINA_HOME/conf folder,
<!-- ... -->
<Connector port="8443"
    protocol="org.apache.coyote.http11.Http11NioProtocol"
    maxThreads="150" SSLEnabled="true" scheme="https" secure="true"
    keystoreFile="/Users/nader/keystores/thekeystore"
    keystorePass="changeit" clientAuth="false" sslProtocol="TLS" />
<!-- ... -->
The generation and the registration of a keystore are not a part of the scope of this blog post.
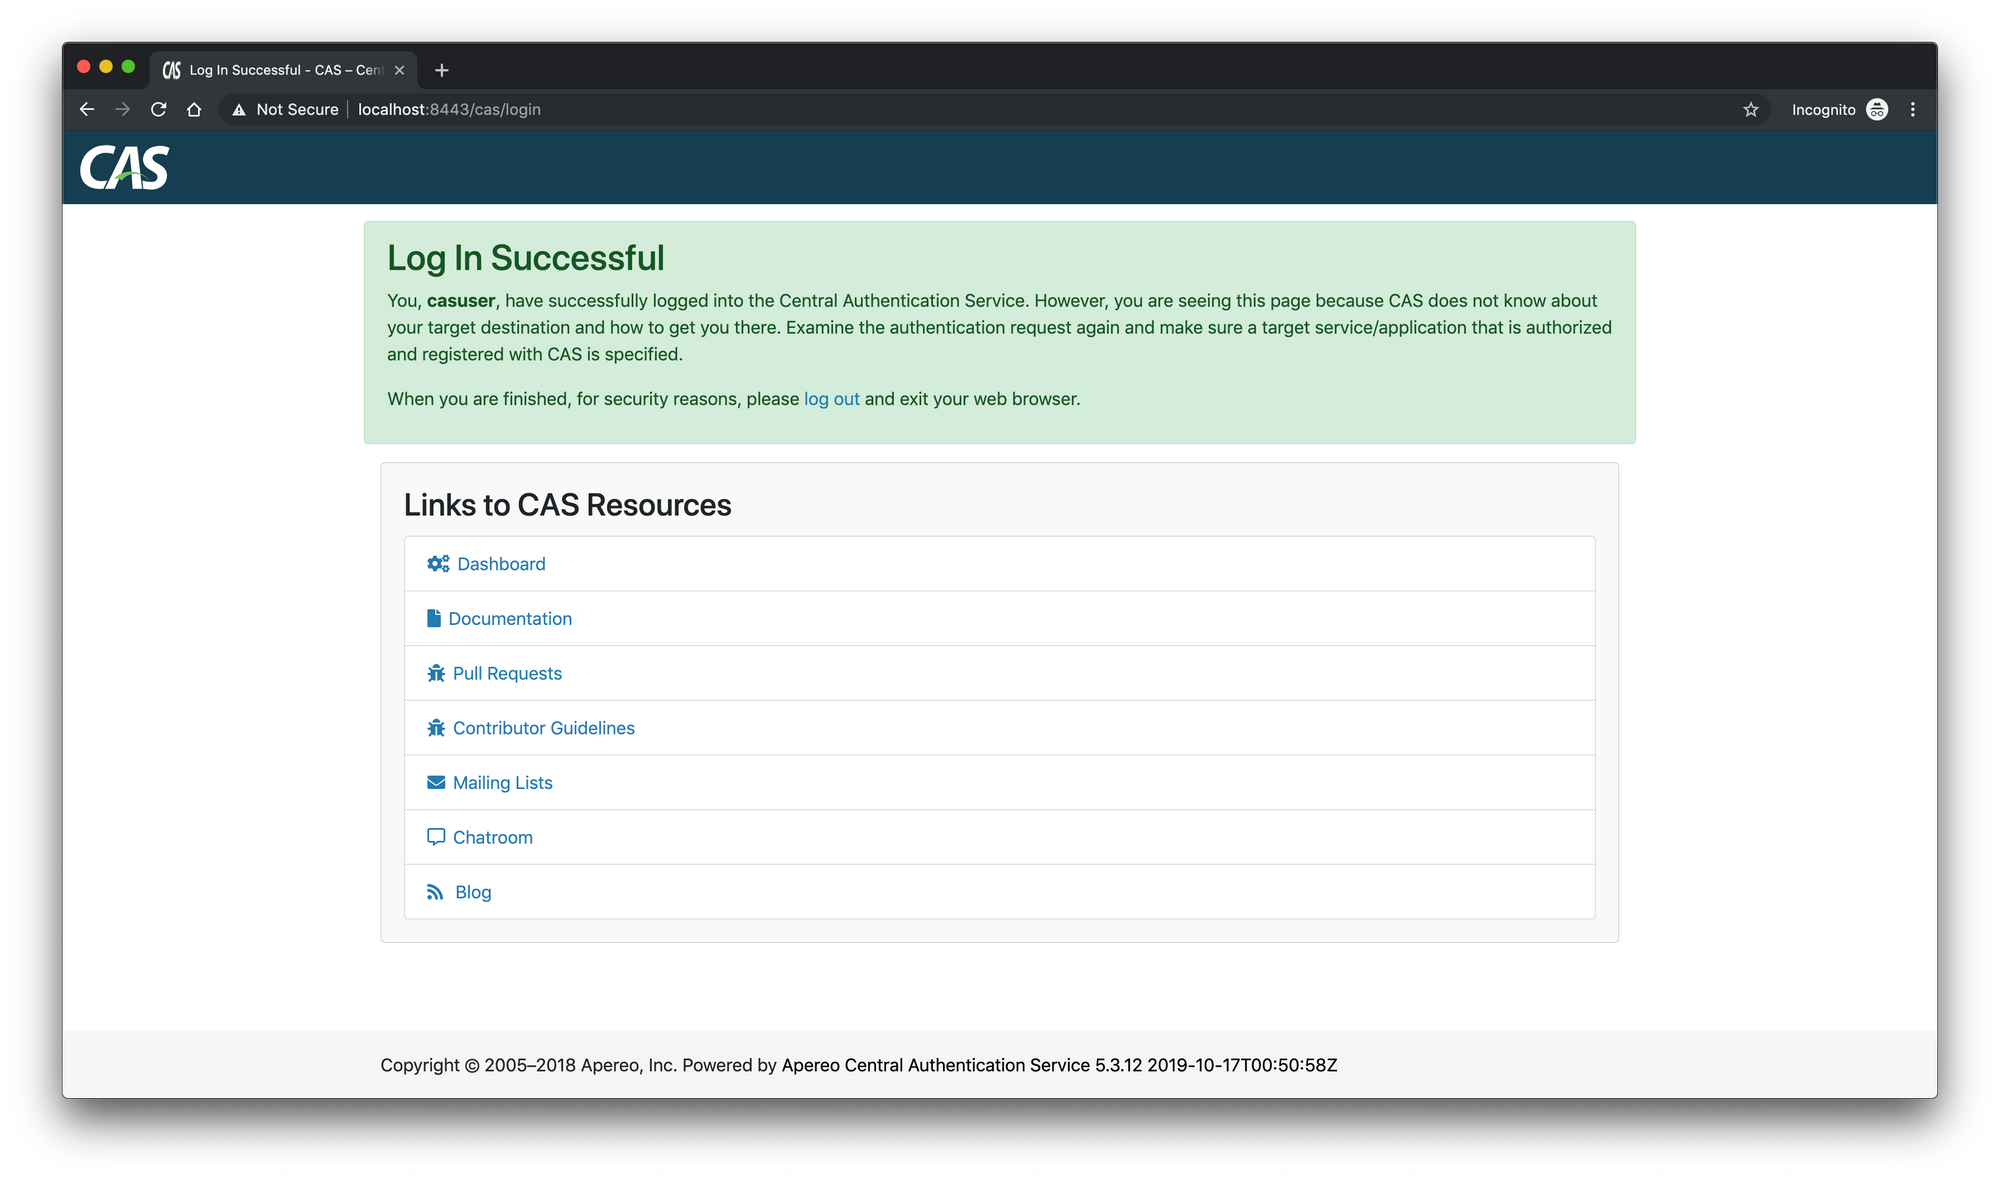
After running, the Tomcat server and visiting https://localhost:8443/cas, the following login UI should appear successfully,
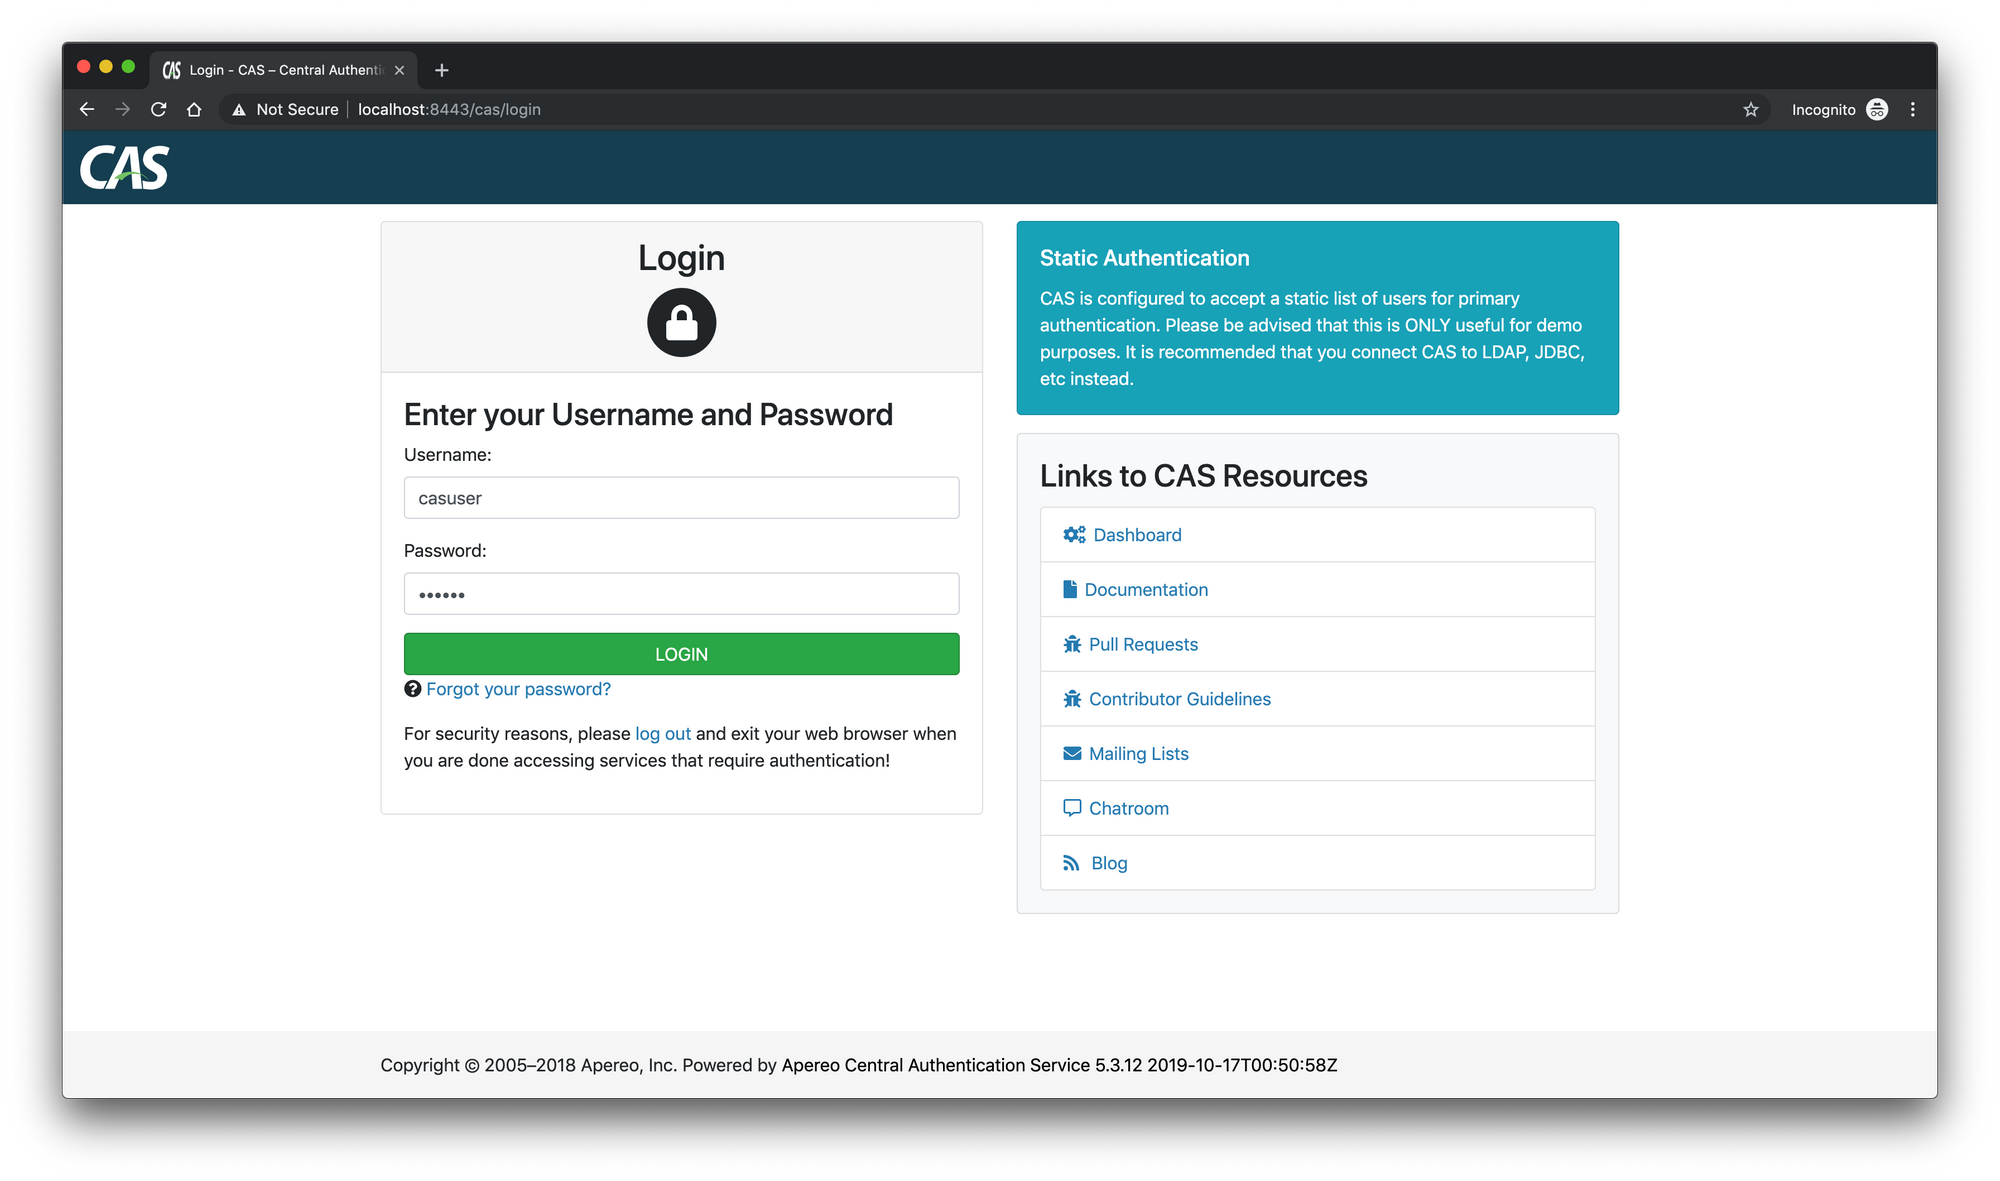
Using the configured credentials previously, casuser and Mellon, we can gladly confirm that we have reached the first milestone of this blog post,
CAS database authentication
While using a hardcoded users credentials in the CAS configuration, may be suitable for a simple test case as the one we did previously, it's still not an appropriate approach for a production use case. Therefore, connecting the CAS server to its own database server or its own LDAP directory, in which users accounts are stored and managed, is a more reasonable approach.
In this blog post, we will be using Postgres as a database server. However, any other database server or LDAP directory can be used.
We start by adding the required dependencies for the CAS server to support JDBC, to the default profile in the pom.xml file,
<!-- ... -->
<profiles>
    <profile>
        <activation>
            <activeByDefault>true</activeByDefault>
        </activation>
        <id>default</id>
        <dependencies>
            <!-- ... -->
            <dependency>
                <groupId>org.apereo.cas</groupId>
                <artifactId>cas-server-support-jdbc</artifactId>
                <version>${cas.version}</version>
            </dependency>
            <dependency>
                <groupId>org.apereo.cas</groupId>
                <artifactId>cas-server-support-jdbc-drivers</artifactId>
                <version>${cas.version}</version>
            </dependency>
            <!-- ... -->
        </dependencies>
    </profile>
    <!-- ... -->
<profiles>
<!-- ... -->
Next, we append the following configurations to the application.properties file in the overlay,
##
# Database Authentication Configuration
#
cas.authn.jdbc.query[0].url=jdbc:postgresql://127.0.0.1:5432/cas
cas.authn.jdbc.query[0].user=cas
cas.authn.jdbc.query[0].password=cas
cas.authn.jdbc.query[0].driver-class=org.postgresql.Driver
cas.authn.jdbc.query[0].dialect=org.hibernate.dialect.PostgreSQL9Dialect
cas.authn.jdbc.query[0].ddl-auto=update
cas.authn.jdbc.query[0].sql=SELECT * FROM users WHERE email = ?
cas.authn.jdbc.query[0].fieldPassword=password
cas.authn.jdbc.query[0].passwordEncoder.type=BCRYPT
This configuration snippet, informs the CAS server to connect to a database under the name cas, using the username cas and the password cas. The cas.authn.jdbc.query[0].sql property provides the CAS server with a SQL request which will be used to fetch a user by its principal, the email column. Furthermore, the cas.authn.jdbc.query[0].fieldPassword and the cas.authn.jdbc.query[0].passwordEncoder.type properties, specify respectively, the password column name and the encryption type used for the passwords storage, in this case it's BCRYPT. If the passwords are stored as plaintext, the encryption type shall be set to NONE.
More advanced properties for the database authentication can be found here.
Down below is a sample of the users table from the cas database,
| id | password | |
|---|---|---|
| 5dcd8f39...71 | meredith.heidenreich@email.com |
$2a$10$Ir...HW |
| f26c1d5c...3b | delmer.stehr@email.com |
$2a$10$0R...U6 |
| e4be9950...96 | valentin.kohler@email.com |
$2a$10$8c...xG |
| ... | ... | ... |
Finally, we set a blank value to the cas.authn.accept.users property, to prevent authentication using hardcoded users credentials,
##
# CAS Authentication Credentials
#
# cas.authn.accept.users=casuser::Mellon
cas.authn.accept.users=
After rebuilding and deploying the CAS server again, the simple login operation tested previously should succeed again using one of the email addresses and its associated password stored in the cas database.
CAS services
Now that the CAS server is configured and ready to authenticate users, its time to move toward the CAS services, explain the relation between the CAS server and its services and implement the SSO and SLO functionalities. To do so, we will use a concrete example: Assuming that a company named "ESports", uses for its own purposes, two web applications named "ESports-UCL" and "ESports-NBA". These two simple applications, list for authenticated users, all the teams competing in the "UCL" and "NBA" competitions respectively. Therefore, "ESports-UCL" and "ESports-NBA", are the two CAS services of our example.
A CAS service is basically, a web application that uses a CAS server for authentication, independently of the technologies used for its implementation.
The two CAS services of this example, will be developed using Spring framework for their backend implementation, Angular framework for their frontend implementation, and each service has its own database in a Postgres server. And since the both services have very similar use cases, we will focus mainly on the "ESports-UCL" service.
CAS services registration
CAS server, does not allow simply any application to use it for authentication, and it does allow communication only with the registered services. In order to register a service in the CAS server service registry, there are a couple of approaches offered by the CAS server, including JSON, LDAP, JPA and many other alternatives. In this example we will register the "ESports-UCL" and the "ESports-NBA" services using JSON service registry, and for this purpose we have to configure the CAS server one last time.
The first step, is to include the JSON service registry dependency in the pom.xml file of the CAS WAR overlay.
<dependency>
    <groupId>org.apereo.cas</groupId>
    <artifactId>cas-server-support-json-service-registry</artifactId>
    <version>${cas.version}</version>
</dependency>
For each CAS service, we have to create a JSON file containing its definition inside a new folder named services under src/main/resources in the overlay. Each JSON file should follow the naming convention, ServiceName-Id.json,
mkdir src/main/resources/services
touch src/main/resources/services/ESportsNBA-10000003.json
touch src/main/resources/services/ESportsUCL-10000004.json
Down below is the content of the ESportsNBA-10000003.json file,
{
  "@class" : "org.apereo.cas.services.RegexRegisteredService",
  "serviceId" : "https://localhost:8443/esports/nba/login/cas",
  "name" : "ESports NBA",
  "id" : 10000003,
  "evaluationOrder" : 1
}
Similarly for the ESportsUCL-10000004.json file,
{
  "@class" : "org.apereo.cas.services.RegexRegisteredService",
  "serviceId" : "https://localhost:8443/esports/ucl/login/cas",
  "name" : "ESports UCL",
  "id" : 10000004,
  "evaluationOrder" : 1
}
The attribute serviceId, in the two previous JSON definitions, is slightly more important that the other attributes, and further explanation about this attribute can be found in the next sections.
The final step in the CAS services registration, is to enable the JSON service registry and to inform the CAS server about the location of the JSON definition files. To do so we add the following configurations in the application.properties file in the overlay,
##
# CAS JSON Service Registry Configuration
#
cas.serviceRegistry.initFromJson=true
cas.serviceRegistry.json.location=classpath:/services
A new build and deployment of the CAS server is required at this stage.
Single Sign On
We start this section with a simplified workflow of the SSO mechanism.
For a first access to a first CAS service:
- An unauthenticated user, requests a secured resource from the first CAS service,
- The CAS service redirects the user's browser to the CAS server's login UI,
- The user provides its credentials, and submits the form to the CAS server,
- The CAS server verifies the credentials, authenticates the user and redirects its browser back to requested secured resource,
- Any subsequent access to this CAS service's secured resources will be allowed to this authenticated user.
For a first access to a second CAS service:
- The user is already authenticated by the CAS server and the first CAS service, still he is not authenticated by the second CAS service, so upon his first request for a secured resource from the second CAS service, his browser will be redirected to the CAS server login UI,
- Without loading the login UI, the CAS server will detect that the user is already authenticated, so it will inform the second CAS service about the user identity and his authentication details,
- The requested secured resource is loaded, without having the user to submit his credentials again, and that is the Single Sign On, SSO, in action,
- Any subsequent access to this CAS service's secured resources will be allowed to this authenticated user.
Behind the scenes, this simplified workflow relies basically on very simple web fundamentals, cookies, query string parameters and browser redirections. In the next steps we dive into the technical implementation of the first CAS service "ESports-UCL", and as soon as we finish, we will get the big picture on the SSO mechanism, which will allow us to elaborate furthermore on the simplified workflow described above.
The first step, is to generate a new Spring Boot project with a WAR deployment type and the following dependencies: Web, JPA, Postgresql and Spring Security.
In addition to those dependencies, we add the dependency for the Spring Security CAS module in the pom.xml file,
<!-- ... -->
<dependency>
    <groupId>org.springframework.security</groupId>
    <artifactId>spring-security-cas</artifactId>
</dependency>
<!-- ... -->
The next step, is to configure the beans required by the Spring Security CAS module. To do so we create a CASConfiguration class under a configurations package in which we define the following,
@Configuration
public class CASConfiguration {

  private final CustomUserDetailsService customUserDetailsService;

  @Autowired
  public CASConfiguration(CustomUserDetailsService customUserDetailsService) {
    this.customUserDetailsService = customUserDetailsService;
  }

  @Bean
  public ServiceProperties serviceProperties() {
    ServiceProperties serviceProperties = new ServiceProperties();
    serviceProperties.setService("https://localhost:8443/esports/ucl/login/cas");
    serviceProperties.setSendRenew(false);
    return serviceProperties;
  }

  @Bean
  public CasAuthenticationEntryPoint casAuthenticationEntryPoint(ServiceProperties serviceProperties) {
    CasAuthenticationEntryPoint entryPoint = new CasAuthenticationEntryPoint();
    entryPoint.setLoginUrl("https://localhost:8443/cas/login");
    entryPoint.setServiceProperties(serviceProperties);
    return entryPoint;
  }

  @Bean
  public TicketValidator ticketValidator() {
    return new Cas30ServiceTicketValidator("https://localhost:8443/cas");
  }

  @Bean
  public CasAuthenticationProvider casAuthenticationProvider() {
    CasAuthenticationProvider provider = new CasAuthenticationProvider();
    provider.setServiceProperties(this.serviceProperties());
    provider.setTicketValidator(this.ticketValidator());
    provider.setUserDetailsService(this.customUserDetailsService);
    provider.setKey("CAS_PROVIDER_LOCALHOST_8443");
    return provider;
  }

  @Bean
  public CasAuthenticationFilter casAuthenticationFilter(ServiceProperties serviceProperties) throws Exception {
    CasAuthenticationFilter filter = new CasAuthenticationFilter();
    filter.setServiceProperties(serviceProperties);
    filter.setAuthenticationManager(new ProviderManager(Arrays.asList(this.casAuthenticationProvider())));
    return filter;
  }

}
The first bean we defined, is the ServiceProperties bean, in this bean we configure the current CAS service properties. The first property is the service callback URL, https://localhost:8443/esports/ucl/login/cas. This URL must be the same as the value of the serviceId attribute in the JSON definition file described in the CAS services registration section. When an unauthenticated user requests a secured resource from this CAS service, his browser will be redirected to the CAS login UI, with this URL appended as a query string parameter, so after a successful login operation his browser will be redirected back to this CAS service.
The https://localhost:8443 part of the URL, is the domain of the deployment server, the /esports/ucl is the location of the CAS service in the deployment server. and the remaining part, /login/cas, is an endpoint which we don't define explicitly, it is handled by the CasAuthenticationFilter bean, however we can change its default value /login/cas.
The second property in the ServiceProperties bean, sendRenew, is set to false so the user is requested to submit his credentials to the CAS server only once for all subsequent accesses.
The second bean we defined, is the CasAuthenticationEntryPoint bean, this bean will be called every time an unauthenticated access to a secured resource is detected, which will result in the browser redirection 302 response. The redirect URL, is constructed from the CAS login URL, https://localhost:8443/cas/login, and the service callback URL taken from the ServiceProperties bean defined previously, and used as a query string parameter. So the redirect URL is https://localhost:8443/cas/login? service=https://localhost:8443/esports/ucl/login/cas.
After obtaining a browser redirect response with the URL mentioned above, the unauthenticated user will proceed by submitting its credentials to the CAS login form. The CAS server after verifying internally the user credentials, authenticates the user by creating a Ticket Granting Ticket, TGT, which is stored in the user's browser as a cookie named Ticket Granting Cookie, TGC, for the https://localhost:8443 domain, at the /cas path. The TGC represents the user's SSO session, which will be used for any subsequent authentication. After creating the cookie, the CAS server redirects the user's browser to the callback URL which is specified as a query string parameter in the previous URL with a new query string parameter, the Service Ticket, ST. So the new redirect URL should look something like this, https://localhost:8443/esports/ucl/login/cas?ticket=ST-...XYZ. The ST is created by the CAS server and it stands for the access granted by the CAS server to a specific CAS service for a specific user, and it is meant to be verified by the CAS service against the CAS server by asking the question "Have you recently created this ticket?", and the response from the CAS server should come as an XML data, describing the user details for this specific ST. The ST verification is defined by the TicketValidator bean.
After receiving the XML response for the ST verification, the CAS service should look up the user in its own database, and authenticate him. This is defined in the CasAuthenticationProvider bean and implemented by the injected CustomUserDetailsService bean. This beans definition is given by the following interface,
public interface CustomUserDetailsService extends UserDetailsService {

}
And its implementation is given by the following service,
@Service
public class CustomUserDetailsServiceImpl implements CustomUserDetailsService {

  private final UserService userService;

  @Autowired
  public CustomUserDetailsServiceImpl(UserService userService) {
    this.userService = userService;
  }

  @Override
  public UserDetails loadUserByUsername(String username) throws UsernameNotFoundException {
    UserEntity userEntity = this.userService.findUserByEmail(username);
    if (userEntity == null)
      throw new UsernameNotFoundException(username);
    return new User(userEntity.getEmail(), "", userEntity.getIsActive(), true, true, true, AuthorityUtils.createAuthorityList("ROLE_USER"));
  }

}
This service has only one method, the loadUserByUsername method, it is invoked by the CasAuthenticationProvider, after receiving the XML response for the ST validation from the CAS server. The implementation looks for the user using its principal from the XML response, in this example the principal is the user's email address, that's why we have to keep the email addresses consistent between the CAS server database, and the CAS services databases. Another note to take is that the password field is set to a blank value, as it will never be used and the CAS service database stores no passwords. After the user is found, the loadUserByUsername returns a new User instance, used by the CasAuthenticationProvider to populate the Spring Security Authentication object and to update the application's SecurityContext.
The UserEntity is a domain object which is mapped to its own table in the CAS service's database, and it is not the same as the User object which belongs to the Spring Security module. The UserEntity is defined as the following,
@Entity
@Table(name = "USERS")
@EntityListeners(AuditingEntityListener.class)
public class UserEntity implements Serializable {

  private static final long serialVersionUID = 5664002358210231888L;

  @Id
  private String id;

  @NotBlank
  @Column(nullable = false)
  private String firstName;

  @NotBlank
  @Column(nullable = false)
  private String lastName;

  @Email
  @Column(nullable = false, unique = true)
  private String email;

  @Column(nullable = false)
  private boolean isActive;

  @CreatedDate
  @Column(nullable = false)
  private LocalDateTime createdAt;

  @LastModifiedDate
  @Column(nullable = false)
  private LocalDateTime updatedAt;

  // constructors...

  // getters and setters...

}
After authenticating the user by the CAS service, a final redirection is made to get rid of the ST, as it has served its very purpose. A new session is created for the authenticated user in the CAS service side, and as a result a JSESSIONID cookie is returned to the user's browser to be stored for the https://localhost:8443 domain at the /esports/ucl path. Any subsequent requests will use the JSESSIONID cookie to authenticate the user.
The final bean, which is the CasAuthenticationFilter bean, defines a Filter that intercepts requests made against /login/cas endpoint which contain typically the ST as a query string parameter. Their interception triggers the ticket validation workflow against the CAS server. To note that the /login/cas endpoint should be accessible and not secured.
Now that all beans needed by the SSO mechanism are defined, it's time to move to the Spring Security configuration. We define a SecurityConfiguration class that extends the WebSecurityConfigurerAdapter as follow,
@Configuration
@EnableWebSecurity
public class SecurityConfiguration extends WebSecurityConfigurerAdapter {

  private final CasAuthenticationProvider casAuthenticationProvider;
  private final CasAuthenticationEntryPoint casAuthenticationEntryPoint;

  @Autowired
  public SecurityConfiguration(CasAuthenticationProvider casAuthenticationProvider, CasAuthenticationEntryPoint casAuthenticationEntryPoint) {
    this.casAuthenticationProvider = casAuthenticationProvider;
    this.casAuthenticationEntryPoint = casAuthenticationEntryPoint;
  }

  @Override
  protected void configure(AuthenticationManagerBuilder auth) throws Exception {
    auth.authenticationProvider(this.casAuthenticationProvider);
  }

  @Override
  protected void configure(HttpSecurity http) throws Exception {
    http.csrf()
        .csrfTokenRepository(CookieCsrfTokenRepository.withHttpOnlyFalse());
    http.authorizeRequests()
        .regexMatchers("/api.*")
        .authenticated();
    http.httpBasic()
        .authenticationEntryPoint(this.casAuthenticationEntryPoint);
  }

}
As any typical Spring Security configuration, we define an AuthenticationEntryPoint and an AuthenticationProvider. Additionally, we define the security rules, in this case, any unauthenticated request made against any endpoint that begins with /api should trigger the CasAuthenticationEntryPoint which in turn will trigger the whole workflow described above.
The final step before testing the SSO workflow, is to add a secured endpoint. The following /api/teams endpoint, returns simply a list of "UCL" teams for authenticated users,
@RestController
@RequestMapping(value = "/api/teams")
public class TeamController {

  private final TeamService teamService;

  @Autowired
  public TeamController(TeamService teamService) {
    this.teamService = teamService;
  }

  @RequestMapping(value = "", method = RequestMethod.GET)
  public Collection<TeamEntity> getAllTeams() {
    return this.teamService.getAllTeams();
  }

}
To note that, same as the CAS server, the "ESports-UCL" CAS service uses a manually populated database, for the simple reason that, it is not so interesting to implement endpoints for creating users and teams.
Now, after building the "ESports-UCL" CAS service, and assuming that it is deployed successfully inside the same deployment server as the CAS server, under a folder named esports#ucl, and assuming that an instance of a Postgres database server is already running. When visiting https://localhost:8443/esports/ucl/api/teams from the browser, the browser will be redirected to the CAS login UI, and after typing a valid credentials of a user that is available in both the CAS server and the CAS service databases, we can successfully get a list of all the teams stored in the "ESports-UCL" database.

With this test, we have successfully proved the collaboration between the "ESports-UCL" CAS service's backend component and the CAS server for authenticating users and protecting the resources. And now it's time to add Angular to the mix, to build the "ESports-UCL" CAS service's frontend component. To do so, we have to understand first where the Angular project will fit into "ESports-UCL" CAS service.
Angular, is a javascript framework, and like any other javascript framework, its build artifact, is just a bunch of static HTML, CSS and JS files. However in the case of Angular as a javascript framework, the build artifact will give in addition to the CSS and JS files, a single HTML file, the index.html, and hence, the concept of a Single Page Application, SPA, which is the domain expertise of Angular. On the other hand, Spring Boot, given a file named, index.html under the src/main/resources/static folder or under the WEB-INF/classes/static folder in the case of a WAR deployment, will map it out of the box to the application root endpoint /. So all we have to do is, to combine the build of the Spring Boot application and the build of the Angular application in order to obtain a single deployable WAR folder, which may have a structure similar to the following,
$CATALINA_HOME/webapps/esports#ucl/
│── META-INF
│── WEB-INF
    │── classes
    │   │── application.properties
    │   │── org
    │   │   │── esports
    │   │       │── ucl
    │   │           │── Application.class
    │   │           │── configurations
    │   │           │   │── CASConfiguration.class
    │   │           │   │── SecurityConfiguration.class
    │   │           │── controllers
    │   │           │   │── TeamController.class
    │   │           │── entities
    │   │           │   │── TeamEntity.class
    │   │           │   │── UserEntity.class
    │   │           │── repositories
    │   │           │   │── TeamRepository.class
    │   │           │   │── UserRepository.class
    │   │           │── services
    │   │               │── CustomUserDetailsService.class
    │   │               │── TeamService.class
    │   │               │── UserService.class
    │   │               │── impl
    │   │                   │── CustomUserDetailsServiceImpl.class
    │   │                   │── TeamServiceImpl.class
    │   │                   │── UserServiceImpl.class
    │   │── static
    │       │── 3rdpartylicenses.txt
    │       │── favicon.ico
    │       │── index.html
    │       │── main-es2015.3504748da6ac4fc3db2c.js
    │       │── main-es5.df69f8ff1f61b395f2a7.js
    │       │── polyfills-es2015.5728f680576ca47e99fe.js
    │       │── polyfills-es5.7f43b971448d2fb49202.js
    │       │── runtime-es2015.858f8dd898b75fe86926.js
    │       │── runtime-es5.741402d1d47331ce975c.js
    │       │── styles.0e4338761429b4eb16ac.css
    │── lib/...
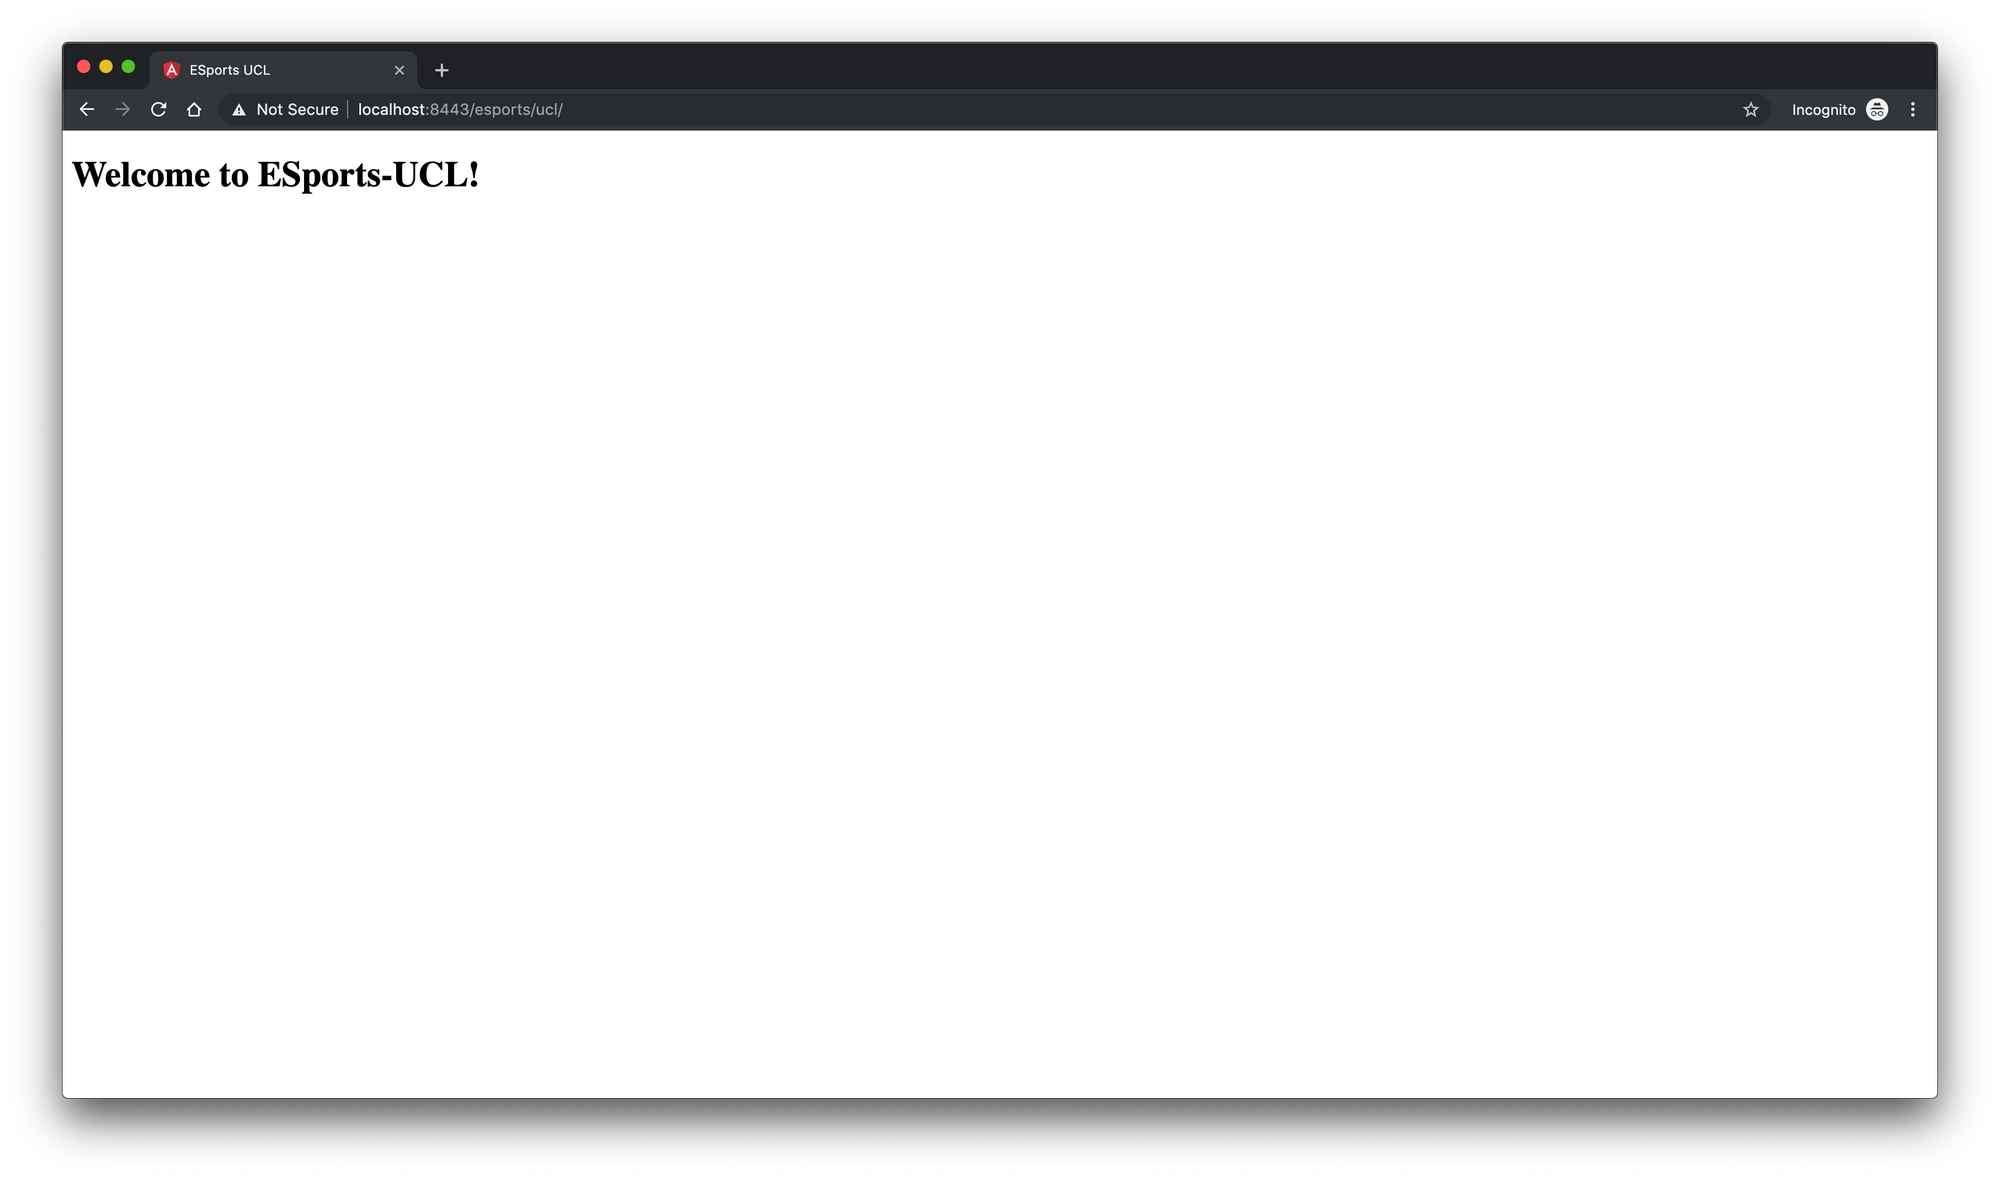
The files, under the WEB-INF/classes/static folder are the files resultant from the build of a simple Angular application, now if we reload the server and visit https://localhost:8443/esports/ucl, we get the following greeting message, which means that the Angular application has successfully loaded from within the Spring Boot application, both deployed as a single WAR insider an Apache Tomcat server,
Now, we may have noticed that the request for the index.html file from the server hasn't triggered the CAS authentication mechanism. And that's totally normal, as we have configured the security rules earlier, to protect only the resources under the endpoints that begin with /api. So the question now, is whether to add or not a security rule to protect the access to the Angular application? The answer is, it depends. For example, if the Angular application has some public routes, then protecting the index.html file, means to prevent the access to the whole Angular application and so there are no public routes anymore. Besides that, the Angular application is just a HTTP client, and since the backend component which represents the data access and the business logic, is protected, we can say it's a decent security solution. However, if accessing to the Angular application, the index.html file, does not trigger the CAS authentication mechanism, then what does trigger it? That is simply, the XML HTTP Requests, XHR, made by the Angular application against the backend secured endpoint. So the strategy will be, to give the user access to the Angular application, and as soon as, he requests a protected resource from the backend component via the Angular application, the CAS login UI, will be presented to authenticate him.
Typically, from the frontend perspective, when the user attempts to access a private area of the web application, he will be prompted to submit his credentials, and after successful authentication, the frontend component gets the user details whether to display a greeting message, setup a specific UI, or for whatever reason. In our case, the Angular application as a frontend component, will not prompt the user to submit his credentials, it is the CAS login UI's responsibility. However, we still need the user details, if he attempts to access a private area, and this use case is a suitable candidate to be the CAS authentication mechanism trigger.
In the Angular project, we introduce the AppLayoutComponent which is a shell component that contains the common UI elements across the whole application, and has some routed children, such as the TeamsComponent. The AppLayoutComponent, will be loaded inside the AppComponent, the root component, and it has a navigation bar that displays the user full name. So when the Angular application loads, the AppLayoutComponent will be the default component to be routed, and as soon as it asks for the user details, the CAS authentication mechanism will be triggered.
The following is the routing configuration of the Angular application,
const APP_ROUTES: Routes = [
  {
    path: 'app',
    component: AppLayoutComponent,
    children: [
      {
        path: '',
        component: TeamsComponent
      },
      {
        path: '**',
        redirectTo: '',
        pathMatch: 'full'
      }
    ]
  },
  {
    path: '**',
    redirectTo: 'app',
    pathMatch: 'full'
  }
];

@NgModule({
imports: [ RouterModule.forRoot(APP_ROUTES, { useHash: true }) ],
exports: [ RouterModule ]
})
export class AppRoutingModule {}
So the idea is, when the user visits https://localhost:8443/esports/ucl, the Angular application is loaded, and the user will be forwarded automatically to https://localhost:8443/esports/ucl/#/app which leads to the AppLayoutComponent. The AppLayoutComponent, as soon as it is called, will attempt to request for the user details and this attempt will fail resulting in the CAS authentication mechanism being triggered. To get the user details, the AppLayoutComponent will fire a request against an endpoint named /api/users/authenticated, and since this endpoint's name starts with /api which means that it is protected, a redirection to the CAS login UI will be made.
The code snippet that will request the backend component for the user details, is given below,
@Component({
  templateUrl: '/app-layout.component.html',
  styleUrls: [ './app-layout.component.scss' ]
})
export class AppLayoutComponent implements OnInit {

  user: User = new User();

  constructor(
    private http: HttpClient
  ) {}

  ngOnInit() {
    this.http.get<User>('https://localhost:8443/esports/ucl/api/users/authenticated', {}).subscribe(
      (user: User) => this.user = user,
      (error: any) => console.log(error)
    );
  }

}
Unfortunately, this code will fail not because, an authentication error, or a remote call failure, but because of the redirection. In fact, the redirection, is a browser server dance, which javascript and its frameworks doesn't know its steps. The call to the /api/users/authenticated endpoint, since the user is not yet authenticated, has returned a 302 redirection response to the browser not to the Angular application. The browser then will follow the redirection to the https://localhost:8443/cas/login? service=https%3A%2F%2Flocalhost%3A8443%2Fesports%2Fucl%2Flogin%2Fcas URL, which return the CAS login UI with a 200 HTTP status, however this UI is never displayed, because it is returned as HTML text to the HTTP call made by the code above which is waiting for a JSON representation of the User object. So the call is made, and the redirection has happened, but there is a parsing problem. The error details are given below,
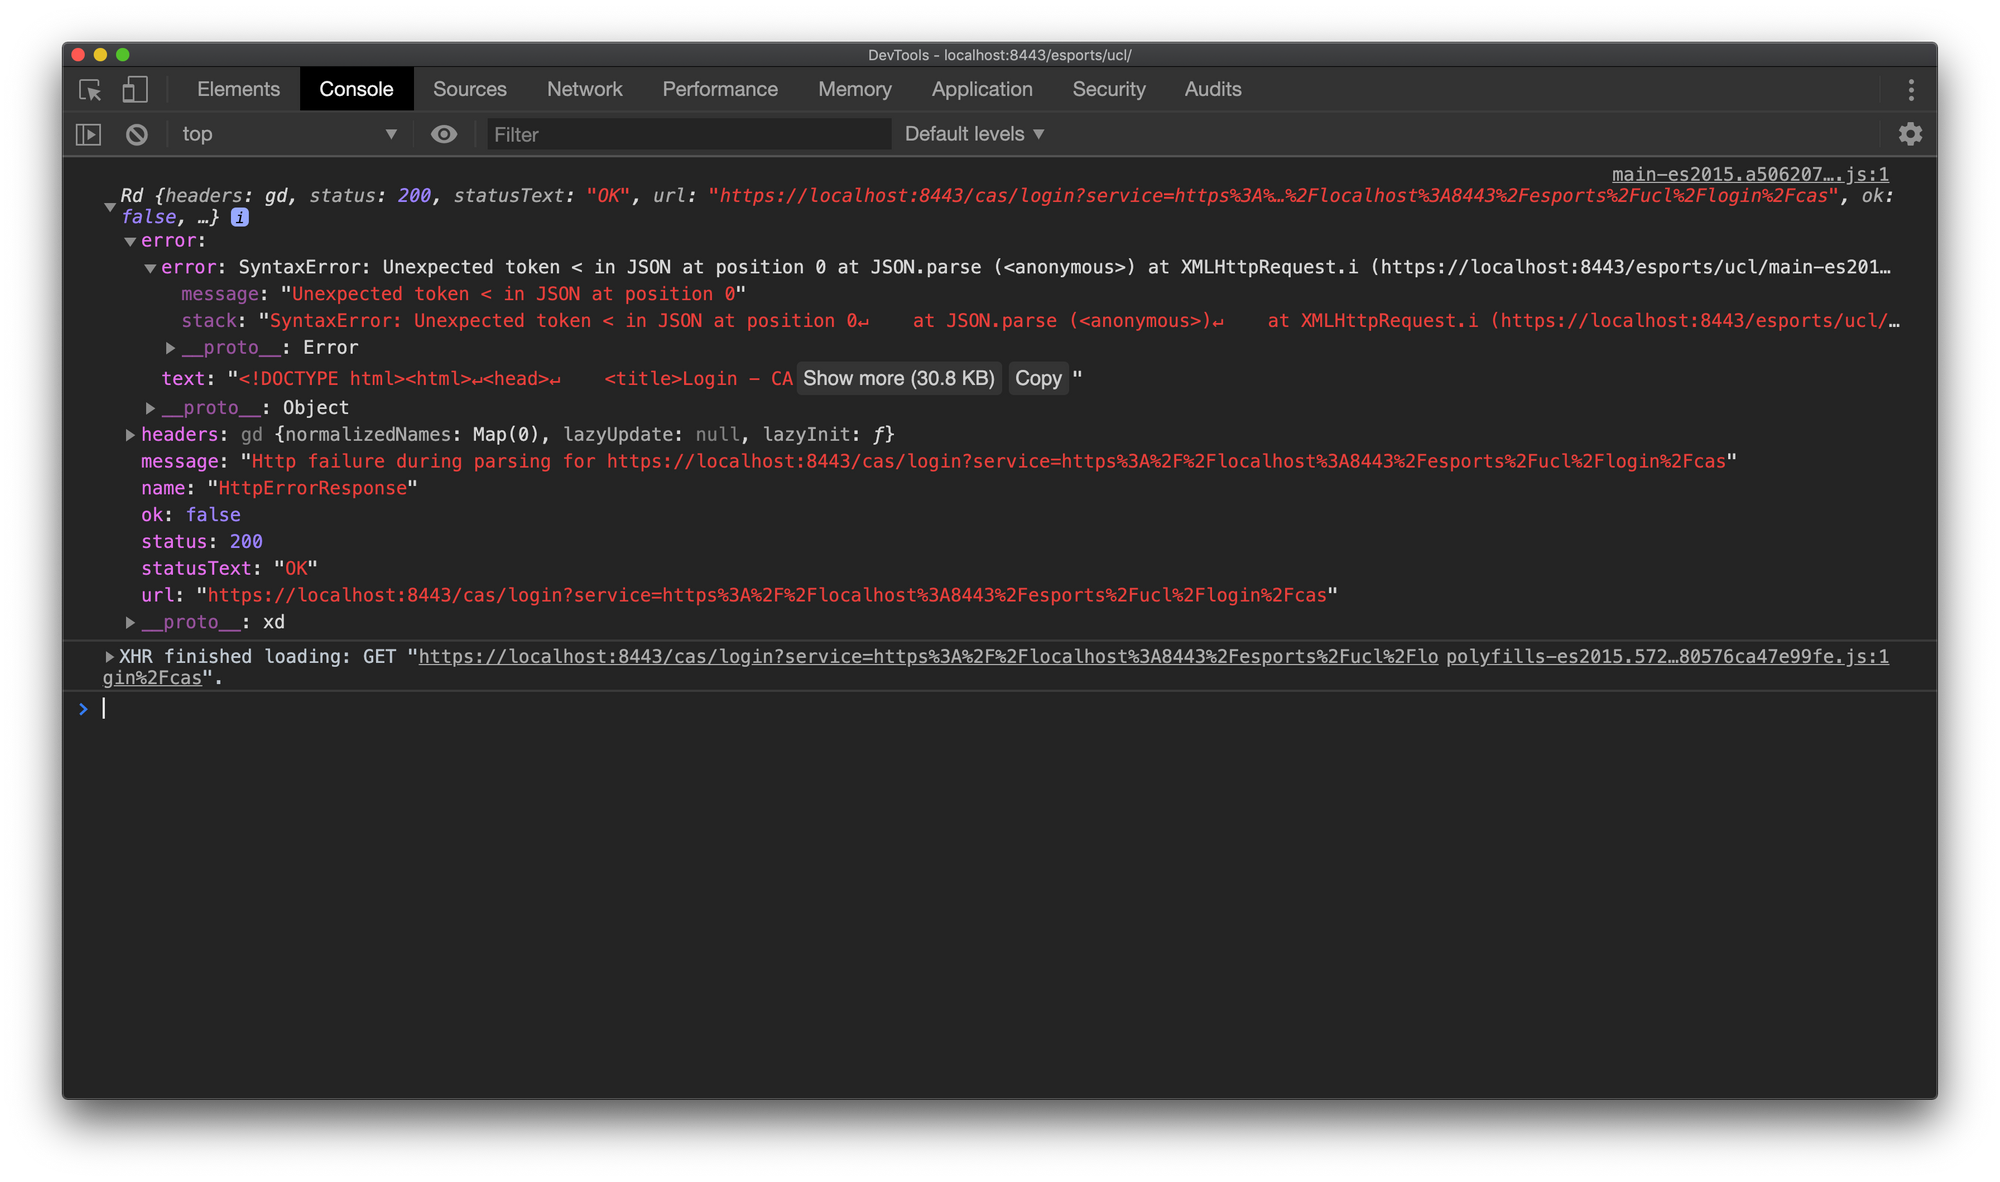
To get around this issue, we introduce an ErrorInterceptor in the angular application. This interceptor's job is to detect this parsing error, check if the URL of the error is for CAS login UI and manually change the browser location to the CAS login URL,
@Injectable()
export class ErrorInterceptor implements HttpInterceptor {

  intercept(request: HttpRequest<any>, next: HttpHandler): Observable<HttpEvent<any>> {
    return next.handle(request).pipe(
      catchError((error: HttpErrorResponse) => {
        if ((error.status === 200 && error.url && error.url.includes('/cas/login')) || error.status === 401 || error.status === 403) {
        window.location.href = 'https://localhost:8443/cas/login?service=https%3A%2F%2Flocalhost%3A8443%2Fesports%2Fucl%2Flogin%2Fcas';
        }
        return throwError(error);
      })
    );
  }

}
Now, when an unauthenticated user visits https://localhost:8443/esports/ucl, the Angular application loads, a forward to https://localhost:8443/esports/ucl/#/app will be made, which loads the AppLayoutComponent that fires upon start up a request to the secured /api/users/authenticated endpoint, causing a redirection to the CAS login UI. The redirection response, HTML text, leads to a parsing error that will be caught by the ErrorInterceptor and a manual browser location update will be made. Thus the CAS login UI is displayed, the user then authenticates, and as a result a cookie is created and stored at his browser, and the secured endpoints are now accessible for the Angular application.
Before, moving on to the last section of this blog post, the Single Log Out section, let's review the Single Sign On workflow for one more time,
- An unauthenticated user requests a protected resource,
GET - https://localhost:8443/esports/ucl/api/teams, - Spring Security filter detects an
AuthenticationExceptionand anAuthenticationEntryPointwill be triggered, in this case theCasAuthenticationEntryPointbean. This bean is configured with the CAS server login URL and theServicePropertiesbean which contains the service callback URL, - The
CasAuthenticationEntryPointredirects the user's browser to the CAS server login URL, with the service callback URL appended as a query string parameter, as the following,https://localhost:8443/cas/login?service=https%3A%2F%2Flocalhost%3A8443%2Fesports%2Fucl%2Flogin%2Fcas - The user's browser, follows the redirection URL and as a result, the CAS server login UI is presented to the user,
- The user provides its credentials and submits the form to the CAS server,
- The CAS server authenticates the user, creates a Ticket Granting Ticket,
TGT, and returns it to the browser to be stored as a Ticket Granting Cookie,TGC, at the/caspath under thehttps://localhost:8443domain. This cookie represents the user'sSSOsession which will be used instead of the user's email and password for eventual authentications to other CAS services, - The CAS server redirects then the user's browser to the service callback URL, provided previously as a query string parameter,
https://localhost:8443/esports/ucl/login/cas, but with a new query string parameter, the Service Ticket,ST. This ticket is created by the CAS server, and it stands for the accesses granted by the CAS server to a specific CAS service for a specific user, and it is meant to be validated by the CAS service against the CAS server, - The browser is now redirected to
https://localhost:8443/esports/ucl/login/cas?ticket=ST-...XYZ, this request will be intercepted by theCasAuthenticationFilteras it is always listening for request to the/login/casby default, - The
CasAuthenticationFilterbean is configured with theServicePropertiesand theCasAuthenticationProviderbeans. TheCasAuthenticationProviderbean is configured with aTicketValidatorbean which will use anHTTPSrequest against the CAS server to validate the receivedSTas a query string parameter, - The CAS server receives the ticket validation request from the CAS service, validates it, and responds with an
XMLcontent which contains details about the user to whom theSTwas created, - The CAS service, parses the
XMLresponse, retrieves information about the user, validates its existence in its own data storage, creates a newHttpSession, and returns its identifier to the user's browser as aJSESSIONIDcookie which will be stored at the/esports/uclpath under thehttps://localhost:8443domain, - Finally, the user's browser is redirected to the originally requested resource,
https://localhost:8443/esports/ucl/api/teams, and any subsequent requests to the same CAS service will use theJSESSIONIDcookie as an identifier.
Single Log Out
As described previously, the authentication process takes place, in the CAS server and the CAS services, so when a user authenticates, he is authenticated on the CAS server level via a Ticket Granting Cookie, the TGC , and on the CAS services level via a JSESSIONID . And as a consequence, the log out process needs to happen on the same two levels, logging out the user from one of the CAS services, means that the user is still logged in on the CAS server level and he can also access the other CAS services registered to this CAS server, this is the service log out process. Logging out the user from the CAS server, means that the user can no longer access any of the services registered to this CAS server, and this is the single log out process, SLO. Both of these two log out processes, need to be implemented, and it is recommended that the user logs out from the CAS service first before he logs out completely from the CAS server.
When it comes, to the CAS service log out process, we find that Spring Security module already provides this feature out of the box, by exposing an endpoint named /logout . However, the default behavior of this feature, after having the user logged out, is to attempt to redirect his browser to /login?logout , which is mapped typically to the application's login UI, and as our application is a CAS service, it doesn't have such a UI. Fortunately, Spring Security module is highly customizable and it does provides the developers with some extension points to implement their own behavior. Such an extension point is, the LogoutSuccessHandler, which can be configured and added to the HttpSecurity object to override the default behavior of the application after a successful log out. The following is an example of a possible log out success customization,
http.logout()
    .logoutSuccessHandler((httpServletRequest, httpServletResponse, authentication) -> {
      httpServletResponse.addHeader("Set-Cookie", "JSESSIONID=; Max-Age=0; Expires=Thu, 01-Jan-1970 00:00:10 GMT");
      httpServletResponse.addHeader("Set-Cookie", "XSRF-TOKEN=; Max-Age=0; Expires=Thu, 01-Jan-1970 00:00:10 GMT");
      httpServletResponse.setStatus(HttpServletResponse.SC_OK);
    });
This customization, returns a 200 success response, instead of a 302 redirect response, and it clears the cookies created previously by setting blank values and expired dates. And in the frontend component, it's just a matter of sending a POST request to the /logout endpoint, and routing to a sign out view upon success response,
this.http.post<void>('https://localhost:8443/esports/ucl/logout', {}).subscribe(
  () => this.router.navigateByUrl('/sign-out'),
  (error) => console.log(error)
);

The second log out process is the Single Log Out process. The SLO is a duplex communication channel between the CAS server and its services, a CAS service requests a single log out from the CAS server, and the CAS server broadcasts a single log out signal to all the other services to invalidate the sessions of the current user. Thus, a CAS service has to send and receive single log out requests. To do so, we start by configuring some beans in the CASConfiguration class as the following,
@Configuration
public class CASConfiguration {

  // ...

  @Bean
  public SecurityContextLogoutHandler securityContextLogoutHandler() {
    return new SecurityContextLogoutHandler();
  }

  @Bean
  public LogoutFilter logoutFilter() {
    LogoutFilter logoutFilter = new LogoutFilter("https://localhost:8443/cas/logout", this.securityContextLogoutHandler());
    logoutFilter.setFilterProcessesUrl("/logout/cas");
    return logoutFilter;
  }

  @Bean
  public SingleSignOutFilter singleSignOutFilter() {
    SingleSignOutFilter singleSignOutFilter = new SingleSignOutFilter();
    singleSignOutFilter.setCasServerUrlPrefix("https://localhost:8443/cas");
    singleSignOutFilter.setIgnoreInitConfiguration(true);
    return singleSignOutFilter;
  }

  @EventListener
  public SingleSignOutHttpSessionListener singleSignOutHttpSessionListener(HttpSessionEvent event) {
    return new SingleSignOutHttpSessionListener();
  }

}
The LogouFilter bean comes from the Spring Security module, it defines an endpoint against which, log out requests will be fired, in this case /logout/cas, uses a LogoutHandler , to log the user out from the current CAS service, and sets a log out success URL to which the user's browser will be redirected after a successful log out operation, in this case https://localhost:8443/cas/logout. The redirection to this URL, will notify the CAS server's /logout endpoint, and as a result the Ticket Granting Cookie, TGC, will be invalidated and a single logout signal will be broadcasted to the other CAS services to update their own session management accordingly.
The SingleSignOutFilter bean handles single log out requests coming from the CAS server, and destroys the session using an instance of a SingleSignOutHandler.
Next, those beans have to be injected in the SecurityConfiguration class and added to the configuration as the following,
@Configuration
@EnableWebSecurity
public class SecurityConfiguration extends WebSecurityConfigurerAdapter {

  // ...
  private final LogoutFilter logoutFilter;
  private final SingleSignOutFilter singleSignOutFilter;

  @Autowired
  public SecurityConfiguration(/* ... */ LogoutFilter logoutFilter, SingleSignOutFilter singleSignOutFilter) {
    // ...
    this.logoutFilter = logoutFilter;
    this.singleSignOutFilter = singleSignOutFilter;
  }

  @Override
  protected void configure(HttpSecurity http) throws Exception {
    // ...
    http.addFilterBefore(this.logoutFilter, LogoutFilter.class);
    http.addFilterBefore(this.singleSignOutFilter, CasAuthenticationFilter.class);
  }

}
Finally, in the frontend component it is just a matter of adding a link in the sign out view asking the user to click if he wishes to be logged out from the other CAS services as well,
<a href="https://localhost:8443/esports/ucl/logout/cas">Click here if you want to sign out from other applications as well.</a>

Conclusion
This blog post was an extensive introduction to the SSO and SLO concepts, and a practical integration of CAS with a sample application developed using Spring and Angular frameworks. However, what was implemented in this example is just a proof of concept, and it is not suitable for any production usage. There are many configurations yet to explore, and more protocols provided by CAS to read about in their official documentation.
Resources
Each one of the following resources, is available as an independent Github repository with an included SQL file to provide some test data,
- CAS server overlay used in this blog post,
- "ESports-UCL" CAS service backend and frontend source code,
- "ESports-NBA" CAS service backend and frontend source code.
References
- CAS Authentication from Spring Security documentation,
- CAS Protocol from CAS documentation.